jueves, 24 de abril de 2025

ACTIVITY 1: SELF-PORTRAIT "LINE"

ACTIVITY 1: SELF-PORTRAIT "LINE"

Now let's explore together one of the most important elements of design: THE LINE. 

The line by Julianna kuntsler.


Visual Elements: LINE from Rosa Fernández


ACTIVITY: SELF PORTRAIT

Now we are going to use the line as an element to define, draw, express, communicate or simple decorate our own portrait. 

Assessment Criteria (do not forget to copy this at the back of your work) 

1. Draw a margin or a frame or a background (1 point)
2. Use the line to create the impression of volume (implied volume) (3 points)
3. Originality, creativity (2 point) 
4. Expressiveness (1 points)
4. Neatness, good presentation (1 points)
5. Description of your work, minimum 5 sentences (1 point)
6. Self evaluation (1 point) 


VIDEO-TUTORIAL OF PORTRAIT DRAWING WITH LINES


SOME OTHER EXAMPLES OF PORTRAITS USING LINES

Resultado de imagen de portraits with lines

Resultado de imagen de portraits with lines


SOME OTHER INTERESTING EXAMPLES: 
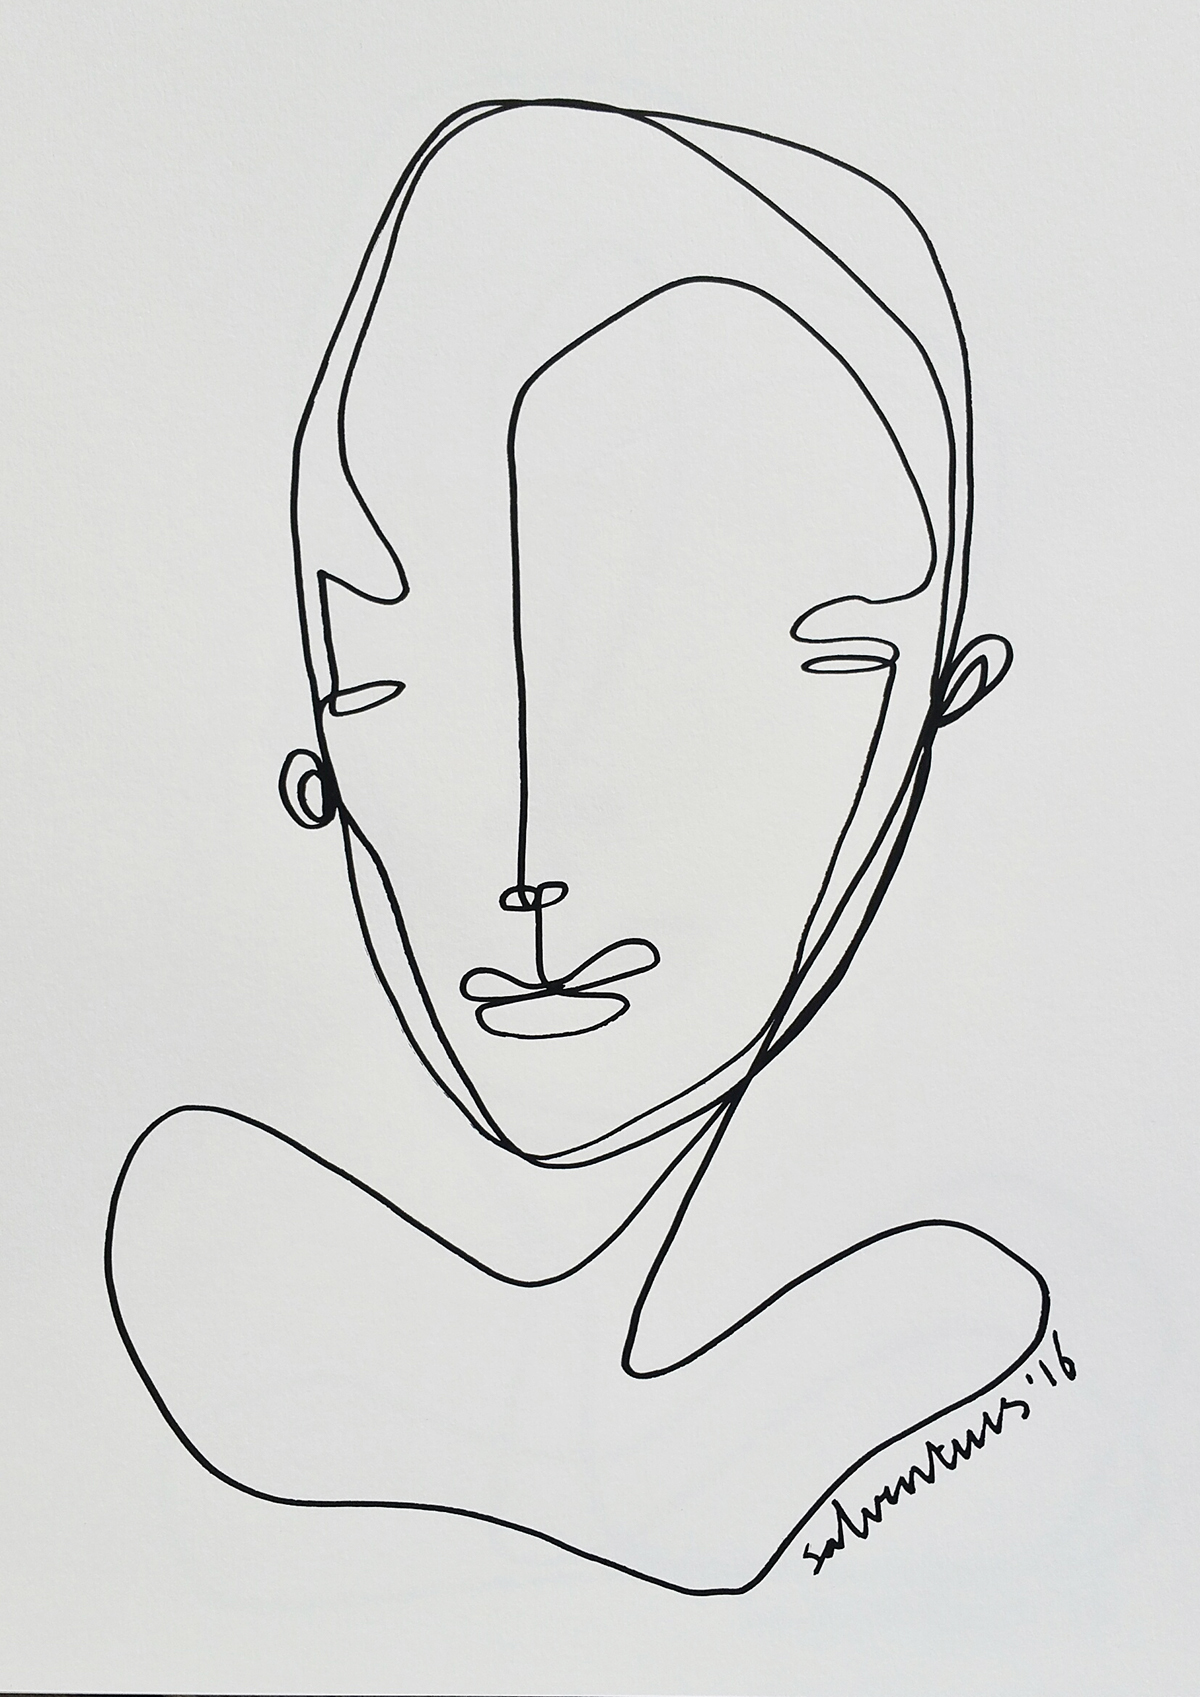
 
 Resultado de imagen de portraits with lines

Resultado de imagen de portrait with lineResultado de imagen de portrait with line
Resultado de imagen de retrato lineasResultado de imagen de drawing with surgical mask, drawing

EXAMPLE OF A SELF EVALUATION 
AND DESCRIPTION OF YOUR WORK OF ART
"Hi teacher,  
This is the description of my work and my evaluation. I am being very honest: 
At the start I had no idea what to do, then I checked some more drawings online, and I decided to do something similar to the Urban Artist Suso33 that you showed us in class. I am happy with the result. I think I have done a good job, because I investigated about it and It took time. I also have a good presentation (clean and tidy) a good composition (distribution of the elements of the drawing in the space of the paper), and I follow the instructions (a drawing of portrait with lines) finally I enjoyed it doing it. I think my work does not deserve less than a 9. 
Here is the video and work by Suso33 that I used as inspiration."

lunes, 10 de marzo de 2025

UNIT 3: VISUAL ELEMENTS "WAYS TO CREATE DEPTH AND SPACE"

How to Create THE ILLUSION OF DEPTH AND SPACE

(From  www.virtualinstructor.com and www.circlelineartschool.com)

One of the ELEMENTS IN ART IS DEPTH AND SPACE.  

It is important to be able to create the illusion of space on a 2D surface. In reality, all realistic or representational art depends on the creation of an illusion.  If creating realistic art is what you're after, then having the ability to create the illusion of space on a 2D surface is a skill that you will find useful. There are a few tricks that you can use to create the illusion of space.  There are ways to create the illusion of space on a 2D surface. 

Use them together to maximize the illusion.


Video Tutorial: The illusion of space (con imágenes) | Lecciones ...


How to Create Depth

1. Overlapping - When one object is positioned in front of another object, part of the object behind it may be blocked from view.  This is called overlapping. 

2. Shading - Creating volume using gradients from darker to lighter. 

3. Placement on the Surface - Generally, objects that are positioned lower on the picture plane will appear closer than objects that are positioned higher on the picture plane.

4. Size - Objects that are closer to a viewer appear larger than objects that are further off in the distance.

5. Value and Focus - Objects that are closer to a viewer appear darker in value and warmer in color.  Objects that are further away appear lighter in value and cooler in color. Objects that are closer appear more detailed than objects that are further away.

6. Linear Perspective - By using either 1 point perspective2 point perspective, or 3 point perspective, an artist can create the illusion of space.  Linear perspective is a drawing method that uses lines to draw objects in space.


Let's watch it here: 


How to draw a landscape using ATMOSPHERIC PERPECTIVE: 


sábado, 8 de marzo de 2025

UNIT 5: ELEMENTS OF ART "VALUE"


ELEMENTS OF ART: "VALUE"


Shading Techniques for Drawing

Techniques used for applying shading to an object are quite varied. Each technique produces a different texture and "feel" to the drawing. The drawing medium used may determine the shading technique that is applied in the drawing.
The most common application techniques include:
Hatching - Lines drawn in the same direction. By drawing lines closer together, darker values are created. Leaving more space between lines results in lighter values. For rounded objects, the lines may curve slightly around the form - following the contours of the object.
Shading with hatching
Cross-Hatching - Lines cross over each other. The density at which the lines cross over each other determines the value that is produced.
Shading with cross hatching
Blending - Smooth gradations of value are produced either by adjusting the amount of pressure applied to the medium or by using a blending tool, such a blending stump.
Blending
Rendering - Using an eraser to remove the medium to produce lighter values. This technique is typically used in conjunction with blending.
Rendering
Random lines - Loose applications of crossing lines. The frequency in which the lines cross over each determines the value produced.
Random lines
Stippling - Applying countless small dots to build up darker values in a drawing. The density of the dots determines the value produced.
Stippling


What technique is the graphic artist Suso33 using here? 


The Illusion of Light
It's easy to get caught up in the technique in which the material is applied and loose sight of the reason why we apply shading in the first place.
Light is how we see, after all, and shading informs us of the light within a scene. We understand the light within the scene through the use of value and contrast.

Value and contrast

Value is the darkness or lightness of a color. Light values are called tints and dark values are called shades.
Contrast deals with difference. Contrast is produced when any difference between elements such as texture, color, size, or value occurs. It can be subtle or extreme. When it comes to shading, we are mostly concerned with the contrast that is produced from changes in value.
When light hits the subject, it produces a range of contrasting values. The intensity of the light determines the contrast of values. Generally, the stronger the light - the higher the contrast.

Direction of the light source
Values are arranged on the subject according to the location and intensity of the light source (or sources). To simplify the manner in which light behaves on a subject and surrounding objects, we'll look at what happens with just one light source on a smooth surface.


Resultado de imagen de VOLUME SHADING

Locations of Value

Highlight - The highlight is the location on the subject where the reflection of light is most intense. Highlights are typically indicated by a very light value of the color or in some cases - white.
Mid Tone - Mid tones are areas on the subject where some light is hitting, but in a manner that is less intense than the highlight. In many cases, the mid tone is the actual color (local color) or value of the subject.
Core Shadow - The core shadow is the area on the subject where light is prevented from hitting, producing an area of shadow. Core shadows are typically darker values of the local color.
Cast Shadow - Cast shadows are locations of darker value that result on surrounding objects or surfaces. Light is blocked from reaching these areas completely because another object is reflecting much of the light away.
Some light is reflected back off of surrounding objects and surfaces. This light bounces back onto objects producing an area of lighter value.


ACTIVITY 1: SHADING A SPHERE


ACTIVITY 2: SHADING A CUBE


domingo, 22 de diciembre de 2024

AND THE WINNERS ARE...


MERRY CHRISTMAS AND HAPPY NEW YEAR!!!

And the winners and finalists are...


Reproductor de vídeo

lunes, 2 de diciembre de 2024

GREETINGS CARD CONTEST

Have you noticed? Christmas decorations are already up in some parts of Madrid. The school will be running a Christmas Card competition. There will be a prize for different categories, and the overall first Prize winner will be published as the School's Christmas Card and sent to all students' families. HO! HO! HO!


Here are some ideas of past contests, long ago... 


CONCURSO DE TARJETAS NAVIDEÑAS

BASES

  1. Participantes.- Podrán participar todo el alumnado matriculados en el  presente curso 2024-25.

  1. Formato.- Tamaño DIN A-5 (mitad del DIN A-4), no desplegable.

  1. Técnica.- Puede aplicarse cualquier tipo de técnica: acuarelas, témperas, ceras, pastel, lápices de  color, tintas, técnicas mixtas, etc.

  1. Tema.- Será  la Navidad. Los trabajos serán originales, descalificando las copias y, el mensaje que emitan, será puramente navideño. Será tan importante el mensaje como el acabado de la ilustración

  1. Lugar y fecha de presentación.- Se admitirá una sola participación por alumno. La tarjeta llevará en el dorso nombre y apellidos del alumno, así como el curso y grupo al que pertenece (a modo de firma los datos personales), entregándose a los/las tutores/as, o profesoras de plástica antes del 10 de diciembre.

  1. Premios.- Se establecen tres categorías, premios por determinar.
    • Categoría 1: Alumnado de 1° y 2° ESO
    • Categoría 2. Alumnado de 3° y 4° ESO
    • Categoría 3. Alumnado de Bachillerato.


miércoles, 2 de octubre de 2024

UNIT 3: BISECTORS

UNIT 3: BISECTORS

It is time to get started with the compass! We will draw two VERY IMPORTANT constructions, used in technical drawing to construct almost everything, EVEN A KITE!

It is CRUCIAL that you learn how to do them by observing and practising. SO LETS DO IT!:

PERPENDICULAR BISECTOR LINE

Definition:

The perpendicular bisector is a PERPENDICULAR line that DIVIDES a line segment into TWO EQUAL parts. It also makes a right angle with the line segment. Each point on the perpendicular bisector is at the same distance from each of the endpoints of the original line segment.

It is basically a line which cuts a line segment into two equal parts at 90°.


 http://ceemrr.com/Geometry1/ParPerp/paste_image14.gif 


ANGLE BISECTOR LINE

Definition: 

It is a line that DIVIDES the angle in TWO EQUAL parts.

http://www.mathopenref.com/images/constructions/constbisectangle/proof.png


lunes, 30 de septiembre de 2024

UNIT 2: OPERATIONS WITH LINE SEGMENTS

2. Operations with Line Segments
2.1. Adding and subtracting line segments

       a) Adding
  •  The addition of two segments is another segment that begins at the origin of the first segment and ends  at   the end of the second segment. 
  • The length of the new segment is the addition of the measures of those two segments.
      b) Subtrating
  • The subtration of two segments is another segment that takes as the origin, the end of the smaller segment and as the end, the end of the biggest segment.
  • The length of the segment difference is equal to the subtraction of the lengths of two segments.


2.2. Line Bisector
  • The line bisector is a perpendicular line that passes through the midpoint of the segment, so it divides the segment in two equal parts.


THEORY EXTRA (NOT FOR THE ARTBOOK)

2.3. How to divide a line segment into equal parts (Thales theorem)

1. Draw a ray that shares the origin of point A with the line segment segment AB.


2. Mark in the ray as many equal units as you want to obtain starting from point A. In this case, we are goint to divide the segment into three equal parts.
 
3. Join the point B with the end of the ray. For each of the divisions of the ray, draw parallel lines to the segment joining B. The points obtained in the segment AB represent 3 equal parts.


If you have any doubt about the process, you can watch theses videos: